Nesting Glass/Quartz Capillaries in Kapton Tubes
Background
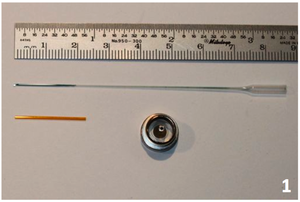
Specific mail-in samples (for example air sensitive material) may require the use of additional glass or fused quartz capillary tubes. Any additional capillary must fit and be secured inside the supplied Kapton tube.
Sample preparation instructions for his are shown below, and can be downloaded as a [.pdf file].
Note: 11-BM does not provide glass or quartz capillaries for mail-in experiments. Only Kapton tubes (with an inner diameter of 0.81 mm) are provided for the mail-in service. Please see the Wiki page on Glass & Quartz Capillary Tubes for more info.
Instructions
Step 1
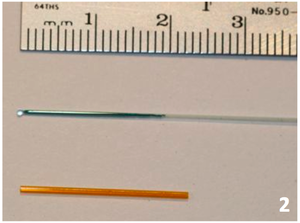
Load well ground powder inside glass or fused quartz capillary. Capillary with diameter of 0.5 mm will easily fit side supplied Kapton tube. (a capillary with diameter of 0.7 mm might fit if care is taken with sealing)
Step 2
Fill capillary length with 1 – 2 cm of powder. Needs to be shorter than the length of the Kapton tube.
Step 3
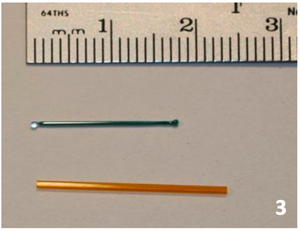
Seal the glass or fused quartz capillary using a flame or other method (epoxy, clay etc). The powder should be secured in the capillary with as little empty volume as possible. Freely moving powder can shift out of the X-ray beam during data collection.
Step 4
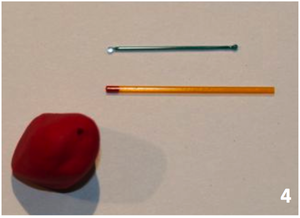
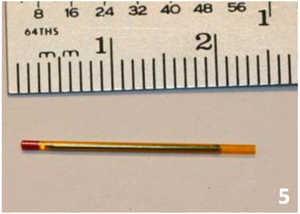
Plug one end of the Kapton tube. Modeling clay is used in the image above, but other methods are possible. Ensure that any glue used hardens completely in the tube. (note: general white glue does not dry or adhere to the Kapton and is not recommended )
Step 5
Insert the capillary inside the Kapton tube. The capillary can not be longer that the supplied Kapton tube. If the capillary is much shorter, trim the Kapton tube so it is only 3 - 4 mm longer, as in the below image.
Step 6
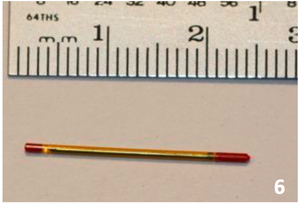
Secure the other end of the Kapton tube. Make sure that capillary can not move freely inside the tube. A freely moving capillary can shift out of the X-ray beam during data collection.
Steps 7 & 8
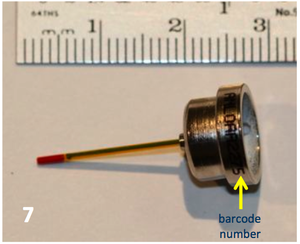
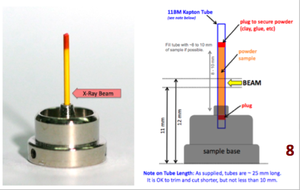
Insert the Kapton tube inside the sample mounting base. Friction should be sufficient to hold the Kapton tube. If you can hold the base upside down without the tube falling out, then it is secure enough. Make sure any mounting clay, glue etc is hidden down inside the sample mounting base. It should not not extend up into the region where the beam hits the samples, as shown in the Figure 8. Make a record of the sample base barcode number so you can identify the sample later.
Steps 9 - 10
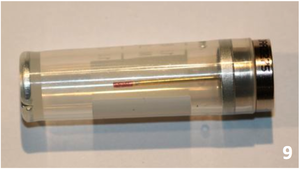
Place the magnetic cap on the sample base (Figure 9).
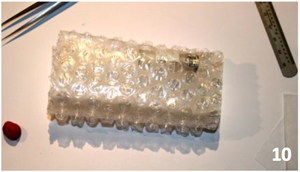
Securely pack all of the prepared sample bases inside bubble wrap, foam, or other packing material for shipment. Unsecured samples may be damaged during shipment, powder can become loose, or capillaries may fall out of their respective bases. Damaged samples may be disposed if data collection is no longer feasible.
These notes are also available as a .pdf format document
