Difference between revisions of "Calibration"
| (One intermediate revision by the same user not shown) | |||
| Line 1: | Line 1: | ||
=== About 11-BM Calibrations === | === About 11-BM Calibrations === | ||
'Note: Currently calibration files are provided 11-BM staff as the user calibration program is outdated.' | '''Note: Currently calibration files are provided by 11-BM staff as the user calibration program is outdated.''' | ||
A calibration file is required by the Merge utility. | A calibration file is required by the Merge utility. | ||
Latest revision as of 16:26, 19 September 2016
About 11-BM Calibrations
Note: Currently calibration files are provided by 11-BM staff as the user calibration program is outdated.
A calibration file is required by the Merge utility.
The calibration file contains the information needed to combine data from each of 11-BM's 12 detectors into a single intensity vs 2theta angle dataset. Each of the 12 scans is adjusted for a 2theta zero shift, wavelength, and intensity scaling factor.
Calibration files are obtained from a 12-histogram GSAS refinement of data collected on a standard powder sample. The standard powder sample is a mixture of NIST SRM 676a Al2O3 (~75 wt%) & SRM 640d Si (~25 wt%).
Collection of a new calibration is recommended after optimizing the monochromator, and required after the monochromator wavelength is altered.
Calibration Scan Parameters
At 30 keV - the standard calibration scan parameters currently are as follows:
- 2theta start: -17 deg
- 2theta end: 50 deg
- step size: 0.0005 deg
- count time: 0.01 sec/step
Generating Calibration Files
On-site users can create a new calibration file based on any scan of the standard Al2O3/Si powder sample.
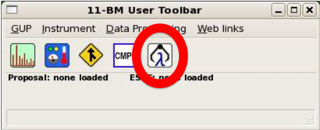
Launch the calibration process by clicking the toolbar icon circled below, or select 'Calibrate' from the Data Processing Menu.
When prompted, select the file number of the scan which has been collected on the standard Al2O3/Si powder sample. Note - if the user has only collected a single scan for the active session, the software assumes this is a scan of the standard Al2O3/Si powder sample.
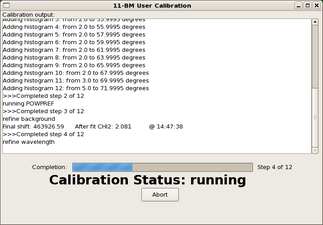
A full calibration refinement takes ~ 30 minutes. This process runs in the background and users can proceed with other tasks before the calibration is finished.
The calibration program gives updates on the progress of the refinement.
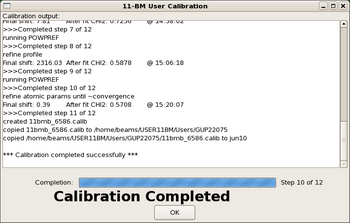
Upon the successful completion of a calibration refinement, the program will generate a calibration file and place a copy of this file in the users active GUP work directory.
If for some reason the calibration fails, the program will notify users of the failed refinement. Check to make sure you have selected the correct scan and have used appropriate scan parameters. Suggested scan parameters are given above. Contact 11-BM staff if you continue to have problems.


